|
The DJ Aerotech HLG Chrysalis was my first real
attempt at building for quite a while. It was also my first HLG so I was pretty darn keen
to get the project started. I ordered the plane from DJ Aerotech by phone and confirmed it
by email. It took a few weeks to get here but then New Zealand is a long way. Having
said that the courtesy on the phone when I enquired was appreciated so thanks for the good
customer service guys.
When the box arrived it was in perfect condition so due credit to the
manufacturer for a good packaging. I read the instructions and numbered all the wing
rib cut outs as recommended ...glad I did because my two year old son found the box the
next morning and spread the parts around the house ....no damage done ..phew
!! I set up a good flat building surface expecting my lack of building
experience to cause problems. To my delight building the 'C' was a breeze.
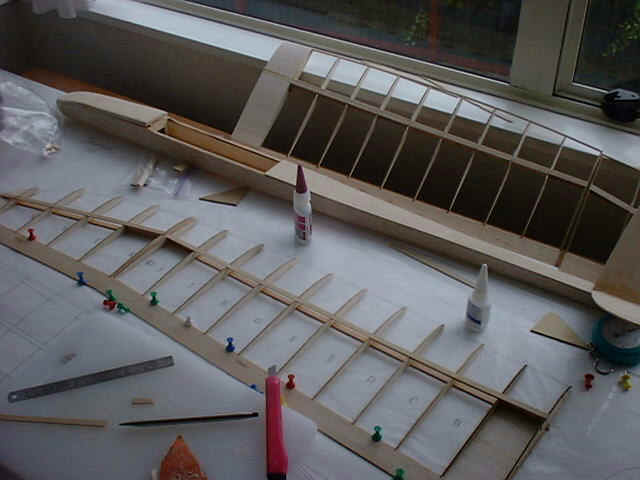 The building was so
straight forward this is the only picture I took of the building process ...it was kinda
over before it began !!
|
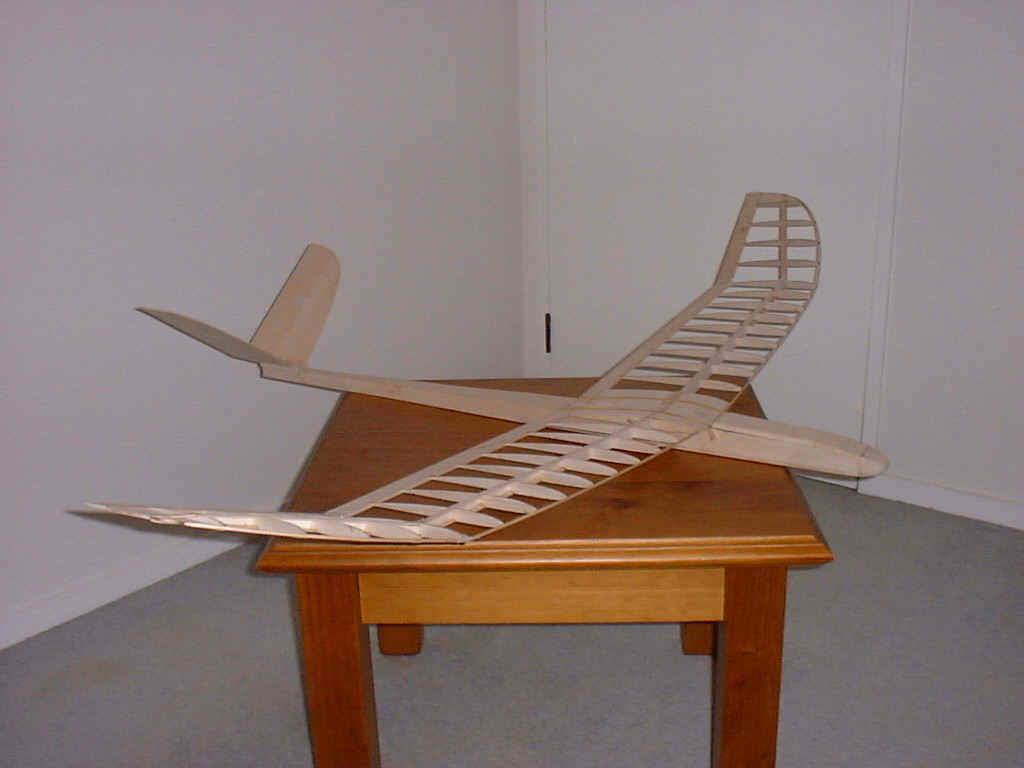 The final framework of
the Chrysalis before covering |
One thing I did notice was that the wing did not build accurately over
the plan ...i.e. the wing ribs did not match the position on the plan when fitted to the
spar notches. This is mentioned in the instructions however it almost caught me when I
went to cut the dowel leading edge to size ...from the plans. I built the two piece
wing which fitted precisely as per the planes...just make sure you use the ply wing ribs
supplied. I also shear webbed the central spar out to the first wing rib past
the dihedral. This may have added some weight but I have had no problems with wing
flutter.
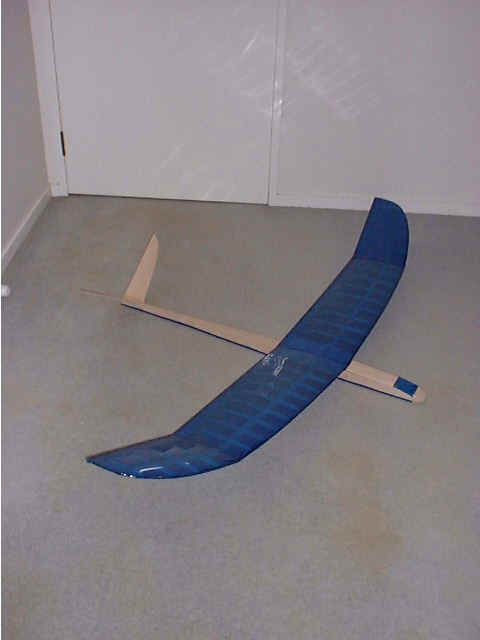 The Chrysalis wings
after covering. |
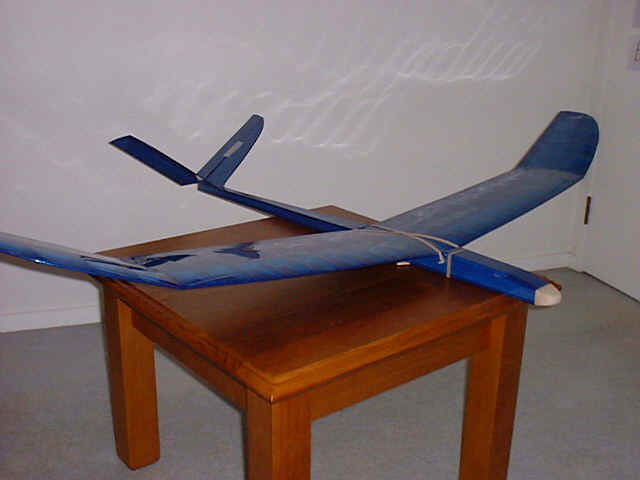 Finished in
transparent blue Monokote ... |
|
|
Covering the Chrysalis was a bit more challenging. I used a
transparent blue regular weight Monokote. It went on quite well but you need to take
your time especially around the wing tips. It looks very cool finished and is very neat in
the air .....but then the Chrysalis is a pretty good looking design.
I fitted HS81 servos and a 250 mAh battery and a standard receiver. I
have to admit I could have gone lighter in a number of ways but given the Chrysalis is
light already I went for a touch more strength instead. The one area I did have difficulty
with was the push rod installation. I followed the instructions closely but ended up with
far to much 'slop' in the rods at the V tail end. This resulted in considerable
flutter of the tail feathers. I have remedied this by cutting a hole in the
bottom of the fuselage and inserting a spacer between the rods, effectively reducing the
lateral movement ...this seems to have fixed the problem. I could take this one step
further and completely box in the rods ....but then a little extra weight 'back
there' means a whole lot more upfront....bad !!
Now the interesting bit ...flying the darn thing. I have two
very big recommendations here with respect to trimming the Chrysalis. Firstly in
addition to all the normal things make sure the recommended wash out is
in the wings and secondly the one that was really fooling me was 'over-control' . I
had tossed the plane around the park a few times but was curious as to why I would
occasionally end up with a kinda 'squirrelly' flight pattern that would force me to
straighten up real quick or suffer the consequences ...normally a tip stall. Well it
was not the plane it was me overcontrolling .....I cut the throw on the
control surfaces back from 50% to 20% (computer radio's are great !!) and
'voila' a beautifully smooth plane that carves up the park effortlessly !!
I have been flying the Chrysalis for a few weeks now and it is a very cool airplane.
I am impressed by how quickly it covers the ground making our very big local park
look very small at times.
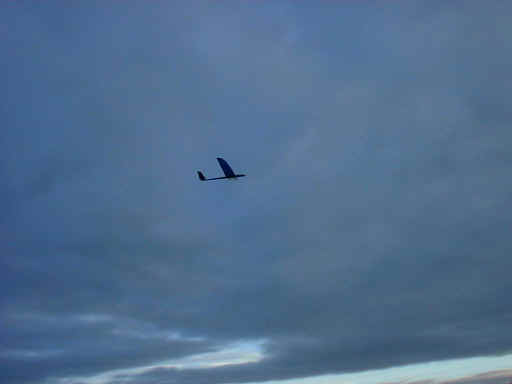 Floating
around the park at sunset |
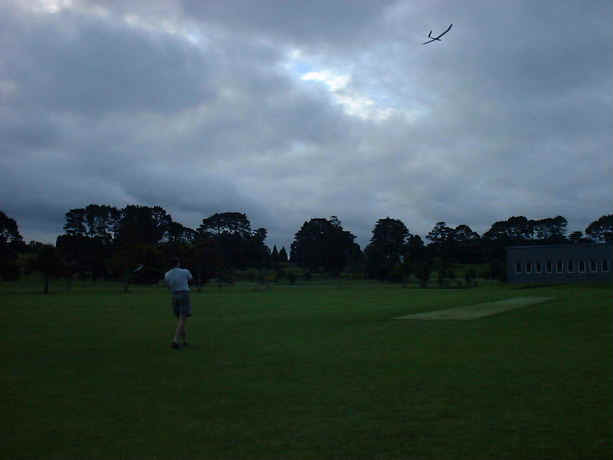 Cruising
in the park ...between 30 and 45 seconds hang time in dead air ! |
|